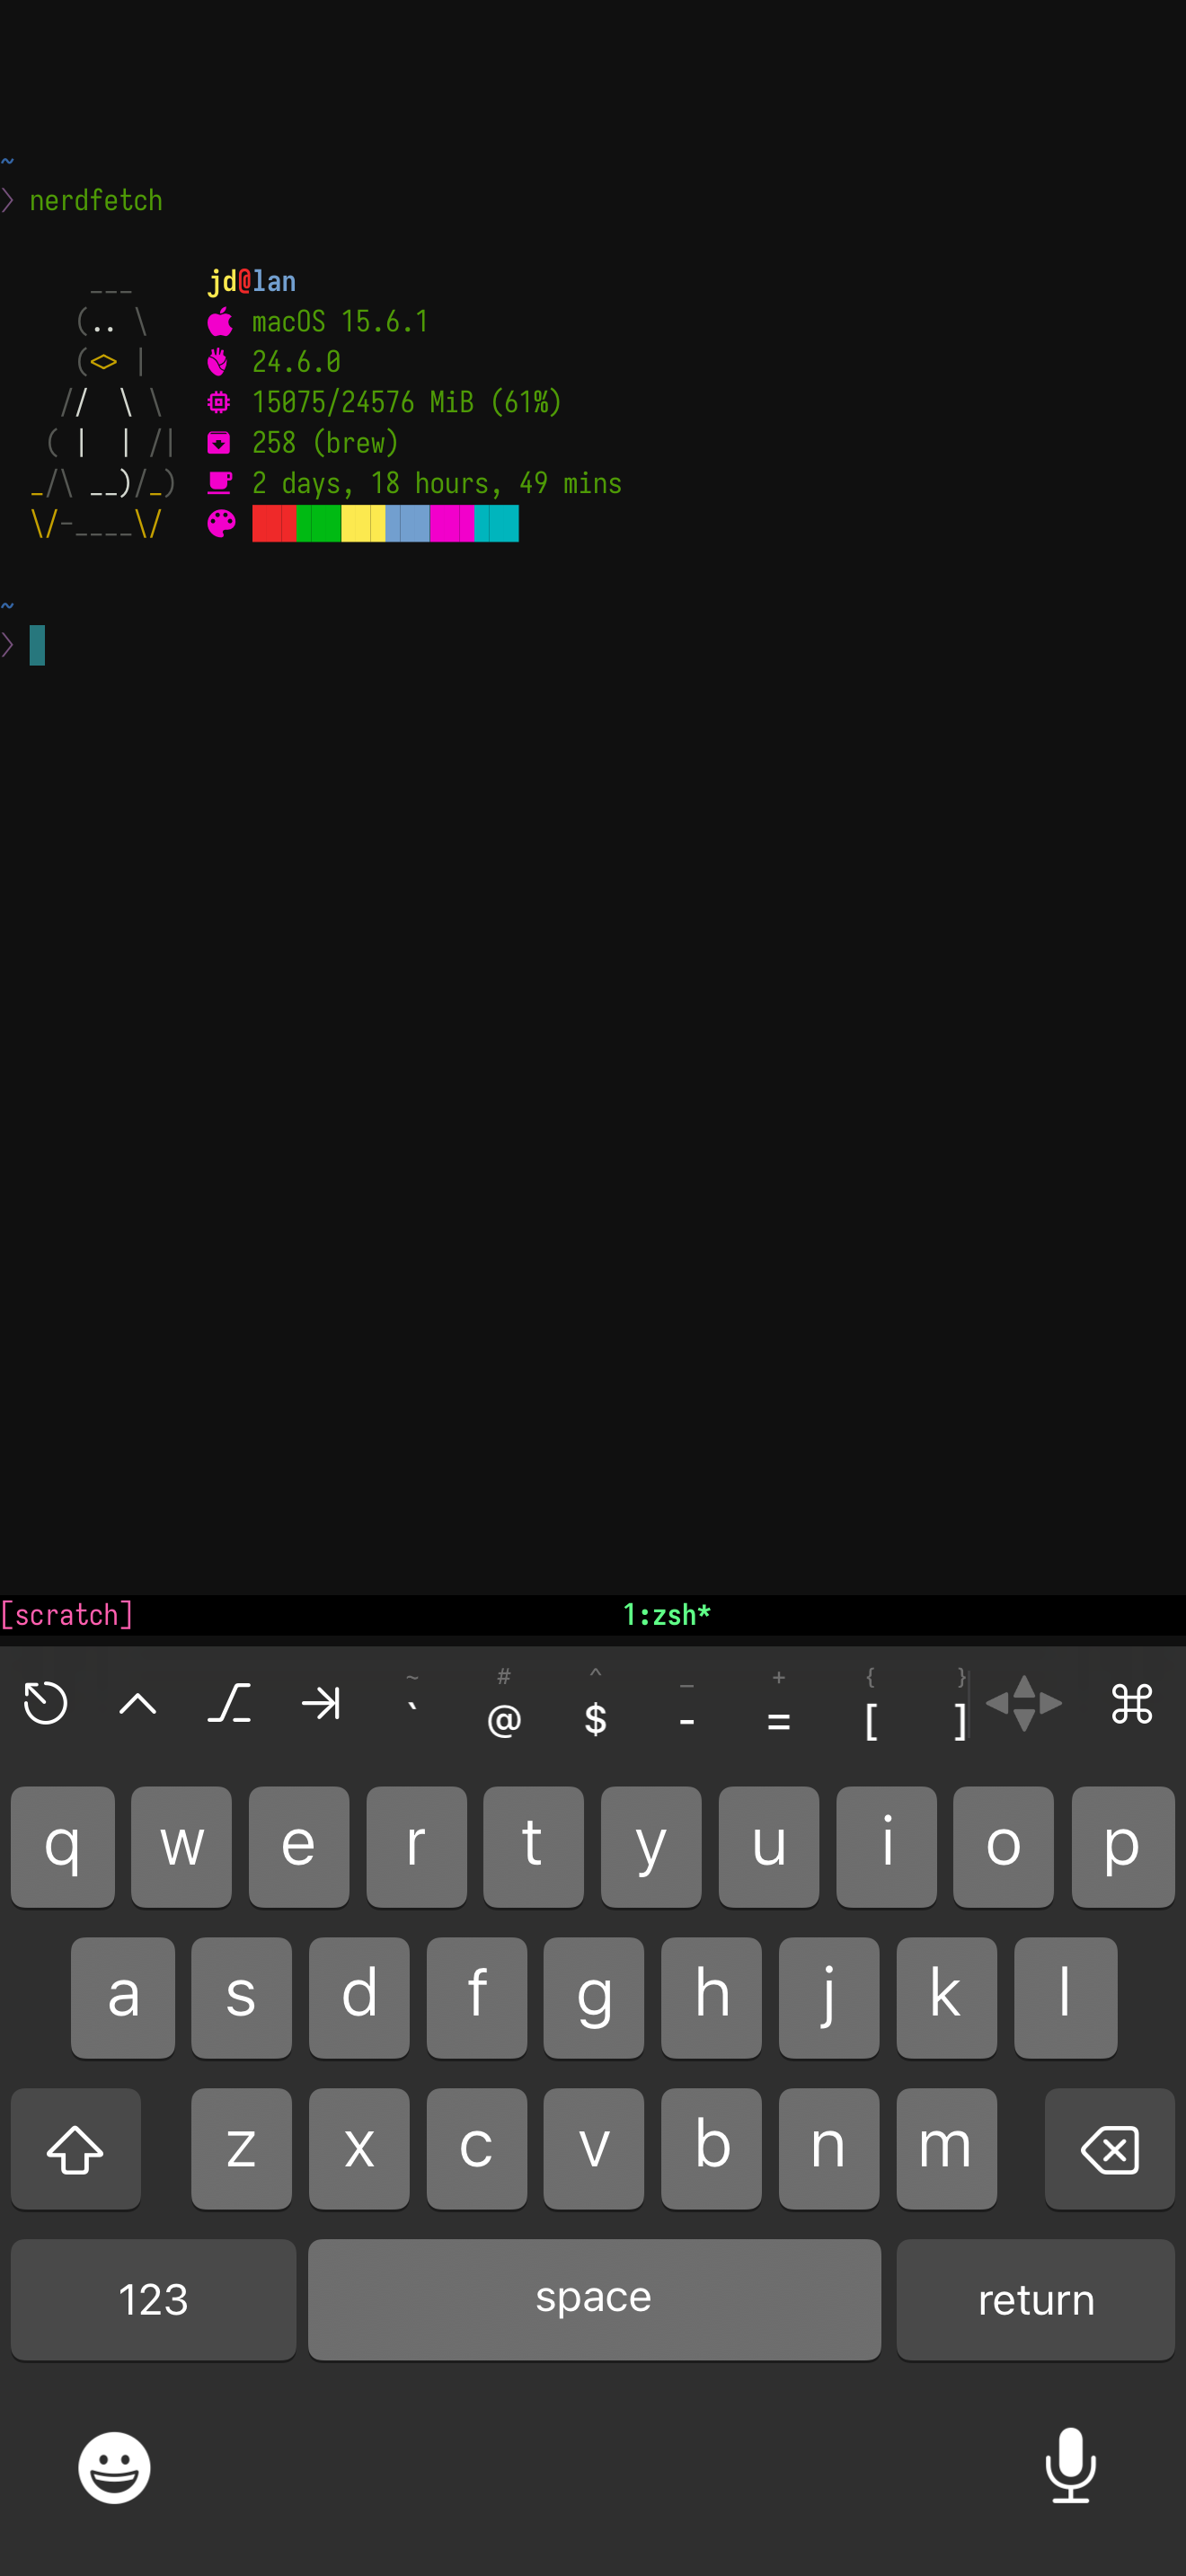
Remote Claude Code: Control Your AI Assistant from Anywhere
Ever wanted to check on your Claude Code sessions while you’re grabbing coffee? Or maybe you’re lying in bed and want to see if that long-running task finally finished? I’ve been there. After setting up this workflow, I can now monitor and control Claude Code from my phone and iPad and it’s been really fun to use.
What We’re Using
- Tailscale: Secure networking to reach your Mac from anywhere
- SSH Keys + Mosh: Resilient terminal connections that handle network changes
- tmux: Session persistence so Claude keeps running even if you disconnect
- Blink Shell: Terminal app for iOS and iPadOS
The workflow: Start Claude Code in a tmux session on your Mac, connect via Mosh from your phone, and monitor/control everything remotely.
Prerequisites
- Mac with Claude Code or your choice of AI Assistant installed
- iPhone/iPad with decent data/WiFi
Step 1: Install Tailscale
Tailscale creates a secure private network between your devices. Think of it as a VPN that “just works.”
On your Mac:
- Download Tailscale and install
- Sign up and connect to your tailnet
- Note your machine name (usually something like
macbook-yourname)
On your phone:
- Install the Tailscale app
- Connect to the same tailnet
- Verify you can see your Mac in the device list
Step 2: Set Up SSH Keys
We’ll use SSH keys instead of passwords for secure, seamless authentication.
Generate SSH key on your phone:
I’m using Blink Shell (iOS Only) as it seems best option for Apple ecosystem:
- Install Blink Shell
- Go to Settings → Keys
- Generate a new key using the Secure Enclave feature
- Copy the public key
Add the key to your Mac:
# Create SSH directory if it doesn't exist
mkdir -p ~/.ssh

# Add your phone's public key
nano ~/.ssh/authorized_keys
# Paste the public key from your phone, save and exit

# Set correct permissions
chmod 700 ~/.ssh
chmod 600 ~/.ssh/authorized_keys
Step 3: Configure SSH Server
Edit your Mac’s SSH configuration to use key authentication:
sudo nano /etc/ssh/sshd_config
Add or modify these lines:
PubkeyAuthentication yes
PasswordAuthentication no
ChallengeResponseAuthentication no
Enable SSH and restart the service:
# Enable Remote Login in System Preferences → Sharing
# Or via command line:
sudo systemsetup -setremotelogin on

# Restart SSH service
sudo launchctl stop com.openssh.sshd
sudo launchctl start com.openssh.sshd
Step 4: Install and Configure Mosh
Mosh is like SSH but handles network changes gracefully – perfect for mobile use.
On your Mac:
# Install via Homebrew
brew install mosh

# Verify installation
which mosh-server
Test the connection:
From Blink Shell, try connecting:
# Replace with your Mac's username and Tailscale IP
ssh yourusername@100.xxx.xxx.xxx
If SSH works without asking for a password, you’re ready for Mosh:
mosh yourusername@100.xxx.xxx.xxx
Step 5: Set Up tmux
tmux keeps your sessions running even when you disconnect. For a complete tmux guide, check out our tmux blog post.
Step 6: The Complete Workflow
Starting a session:
# Connect via Mosh from your phone
mosh yourusername@100.xxx.xxx.xxx

# Start or attach to tmux session
tmux new-session -A -s claude

# Start Claude Code
claude code

# When you need to go AFK, detach from tmux
# Press: Ctrl+B(Prefix), then D
Accessing Your Session from Anywhere
Now your claude code session is running persistently on your Mac inside tmux. You can now disconnect and reconnect from any of your devices without interrupting the process.
From your iPhone/iPad: Open Blink Shell and connect. Mosh will often automatically resume your last session. If not, just re-attach:
# Connect via Mosh
mosh yourusername@100.xxx.xxx.xxx

# Re-attach to the tmux session
tmux attach -t claude
From your Mac:
Open your local terminal. You don’t need to mosh since you’re already on the machine. Just attach to the session directly:
# Attach to the running session
tmux attach -t claude
You are now looking at the exact same terminal screen from two different devices. Any command you type on one will appear on the other. This is the power of tmux combined with mosh and tailscale. Claude Code is still running, waiting for your next instruction, no matter where you are.
Troubleshooting
Mosh connection fails?
- Check if mosh-server is in your PATH:
which mosh-server - Try specifying full path:
mosh --server="/opt/homebrew/bin/mosh-server" user@ip
SSH asks for password?
- Verify your public key is in
~/.ssh/authorized_keys - Check file permissions:
ls -la ~/.ssh/
Can’t reach your Mac?
- Confirm both devices are connected to Tailscale
- Find your Mac’s Tailscale IP:
tailscale ip -4on your Mac - Try the Mac’s Tailscale IP directly
Real-World Usage
This setup has transformed how I work with Claude Code. I can:
- Start a refactoring task before heading out
- Check progress from the gym
- Provide guidance when Claude hits a roadblock
- Resume work from a different location seamlessly
The key insight: Claude Code works best with human guidance, but that guidance doesn’t require being chained to your desk.
Wrapping Up
Setting up remote access to Claude Code takes some initial configuration, but the freedom it provides is worth it.
The combination of Tailscale, Mosh, and tmux creates a robust foundation for remote development work – not just for Claude Code, but for any long-running terminal tasks.
Try it out and let me know how it works for you. Happy coding!

